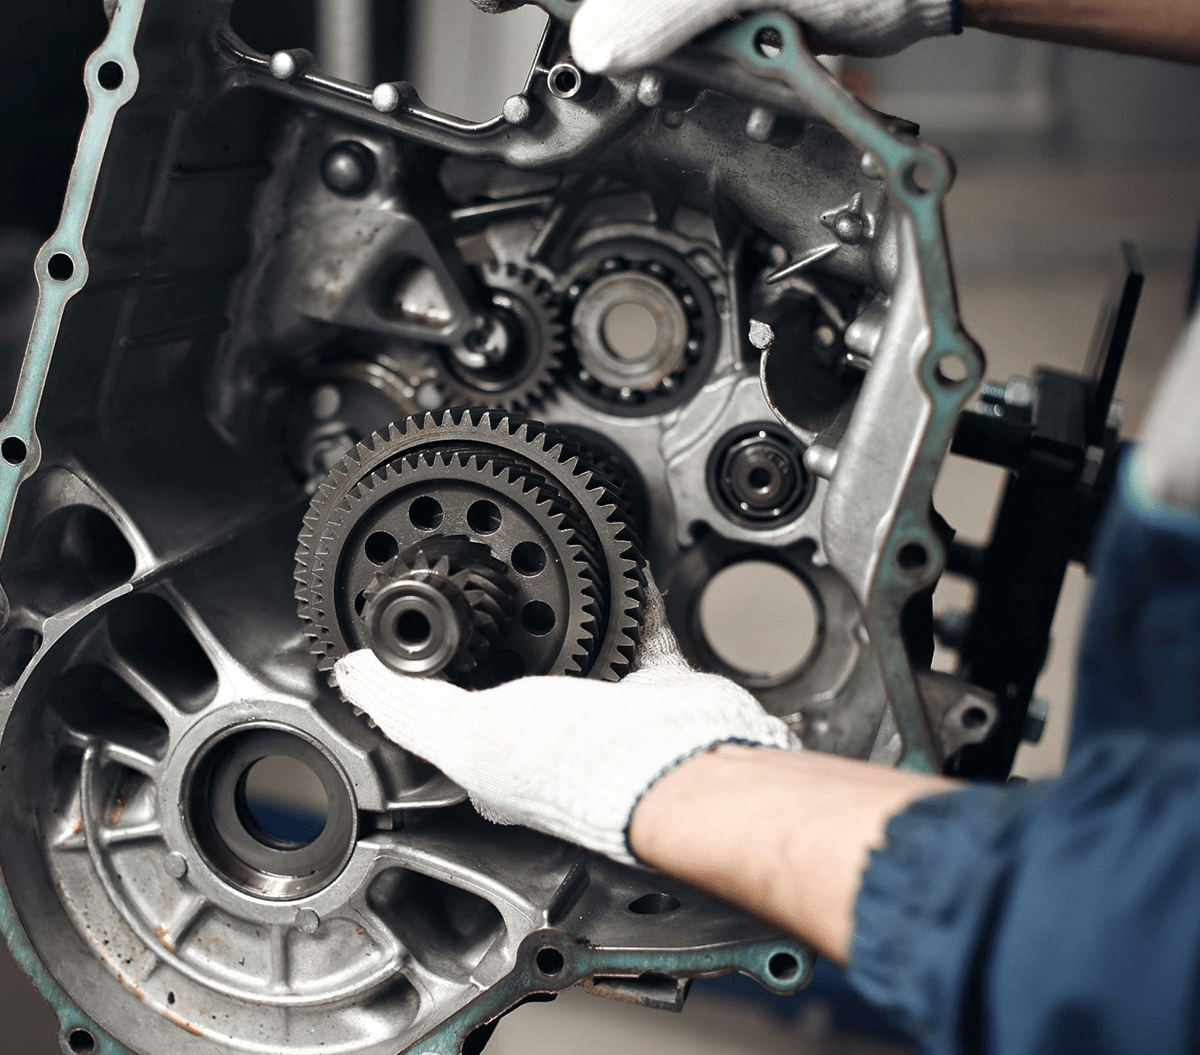
Facing major auto repair can be a stressful experience for any vehicle owner. Among all potential repairs, a full transmission replacement is often viewed as one of the most significant and complex services a vehicle can undergo. Whether your car is slipping gears, failing to engage, emitting severe burning smells, or making strange clunking noises, knowing what lies ahead can clear away anxiety and help you plan effectively.
If you live in Arizona, vehicle components are subjected to intense heat and prolonged stress, making proper maintenance and professional installation even more critical. Here is a comprehensive guide to understanding what to expect during the transmission replacement Phoenix drivers encounter when taking their vehicles in for service.
Initial Inspection and Diagnostic Process
Before any wrenches are turned or major vehicle components are dismantled, a reputable repair shop must confirm that a full transmission replacement is truly necessary. Transmission issues can sometimes mimic smaller, less expensive problems, such as minor sensor failures, low fluid levels, or faulty shift solenoids.
Computer Diagnostic Scanning
Modern vehicles rely heavily on electronic control units. The service technician begins by connecting advanced diagnostic equipment to read error codes stored in your vehicle’s engine control module (ECM) or transmission control module (TCM). These codes provide vital clues regarding electronic, hydraulic, or mechanical failures.
Physical Inspection and Fluid Analysis
Next, technicians perform a detailed physical inspection. They check transmission fluid levels, condition, and color. Dark, burnt fluid or fluid containing metallic shavings strongly indicates severe internal damage. The vehicle is also inspected on a lift to search for leaks, damaged mounts, broken linkages, or cracked casings.
Road Testing
When safe and feasible, a mechanic conducts a test drive to evaluate shifting behavior, acceleration response, noise generation, and overall drivability. Once the diagnostic phase is complete, the service manager provides a formal recommendation detailing whether repair, rebuilding, or a complete transmission replacement is required.
Choosing the Right Replacement Option
When moving forward with a transmission replacement, vehicle owners typically have a few distinct options to consider based on their budget, vehicle age, and long-term ownership plans.
Brand-New OEM Transmission
An Original Equipment Manufacturer (OEM) transmission is brand new, straight from the vehicle manufacturer. It delivers factory-level quality, exact fitment, and the maximum lifespan possible, though it comes with the highest price tag.
Remanufactured Transmission
A remanufactured transmission is a popular choice for many car owners. In this process, a worn transmission is fully disassembled, thoroughly cleaned, and inspected. All wearable parts—such as clutches, bands, seals, gaskets, and torque converters—are replaced with new components. Remanufactured units are built to meet or exceed original factory specifications and often come with robust warranties while being more cost-effective than brand-new factory parts.
Used or Rebuilt Transmission
A rebuilt transmission involves removing your current transmission, replacing only the damaged components, and reinstalling it. Alternatively, a used transmission sourced from a donor vehicle offers an economical short-term fix, though it carries more uncertainty regarding remaining lifespan.
Step-by-Step Transmission Replacement Process
Once you approve the estimate and select your replacement unit, the actual labor process begins. Transmission replacement is an intricate job requiring specialized lifts, transmission jacks, custom hand tools, and certified automotive expertise.
Vehicle Preparation and Fluid Draining
The car is positioned on a commercial hydraulic lift and safely secured. The technician disconnects the battery to prevent electrical shorts and carefully drains all existing transmission fluid into catch basins to ensure a clean, safe workspace.
Disconnecting Accessories and Components
To access the transmission, mechanics must remove several surrounding vehicle systems. Depending on your vehicle’s drivetrain—front-wheel drive, rear-wheel drive, or all-wheel drive—this may include:
- Removing exhaust pipes and heat shields
- Unbolting driveshafts or CV axles
- Disconnecting shift linkages, cooler lines, and electrical wiring harnesses
- Removing crossmembers, skid plates, and engine mounts
Removing the Old Transmission
Using a specialized hydraulic transmission jack, the technician supports the heavy weight of the transmission assembly. The bolts securing the bellhousing to the engine block are carefully loosened and removed. The old transmission is then separated from the engine, lowered from the vehicle chassis, and moved out of the working area.
Pre-Installation Inspection and Upgrades
While the transmission area is completely open, a skilled technician inspects adjacent components that are otherwise difficult to reach. This is the ideal time to inspect or replace:
- The engine rear main seal
- The flywheel or flexplate (checking for cracked or damaged teeth)
- Engine and transmission mounts
- Transmission fluid cooler lines
Installing the Replacement Transmission
The new or remanufactured transmission—complete with a new torque converter or clutch assembly—is raised into position on the hydraulic jack. Technicians carefully align the input shaft with the engine, ensuring a flush mate before torqueing bellhousing bolts to strict manufacturer specifications. All crossmembers, driveshafts, electrical connectors, cooler lines, and exhaust components are reassembled.
Post-Installation Testing and Quality Assurance
Installing the hardware is only part of the process. Bringing a newly installed transmission online requires precise calibration, proper fluid filling, and exhaustive quality checks.
Fluid Filling and System Flushing
The technician fills the new transmission with the exact type and specification of transmission fluid designated by the manufacturer. Using specialized equipment, the fluid cooler and lines are thoroughly flushed to clear out residual debris or metal shavings left behind by the old failed unit.
Electronic Re-learning and Programming
Many modern automatic transmissions require software adaptation. Using modern diagnostic tools, technicians reset transmission adaptive learning tables and flash updated software into the vehicle control module. This step ensures smooth shift points tailored to your engine’s power output.
Leak Checks and Test Drives
With the car running on the lift, the technician verifies correct fluid operating levels and checks all connections for potential leaks. Finally, a multi-mile road test is conducted in varying driving conditions—including city stop-and-go and high-speed highway merging—to confirm flawless performance.
Post-Replacement Care and Maintenance Tips
To maximize the life of your newly installed transmission, taking proactive care of your vehicle post-repair is essential.
- Observe the Break-in Period: Avoid heavy towing, aggressive acceleration, or extreme driving for the first 500 to 1,000 miles to allow internal components to settle.
- Monitor for Leaks: Keep an eye on your driveway or garage floor for any red or brown fluid spots during the first few weeks after service.
- Schedule Regular Fluid Services: Follow recommended service intervals for fluid and filter changes to prevent premature wear.
- Pay Attention to Warning Signs: If you notice unusual shifting patterns, report them to your repair shop immediately to take full advantage of your warranty coverage.
By understanding every stage of the repair—from initial diagnostics to final software calibration—you can approach your service with confidence and keep your vehicle running smoothly for miles to come.